Documentation
User Guide for RAPIDUpgrade
Overview
This instruction is to guide you to run RAPIDSnapshot software to extract configuration data from the EBS database, upload the extracted data packages create by the software to our cloud platform to generate a conversion report for you review, and submit the report to load data into ERP cloud.
Prerequisite
-
A dedicated machine to perform data extraction
The data extraction process can take several hours or more to run, we recommend you use a dedicate machine to run the RAPIDSnapshot software to extract data from the EBS instance.
A physical or virtual machine with Windows OS, a modern dual core CPU, 8GB RAM, 500GB free disk, always on-line, has a fast and reliable connection to the target EBS.
-
A DBA with "sys" credential
To create a new schema on the database for the RAPIDSnapshot software (per the instruction in the later part of this instruction).
-
TEMP and UNDO tablespace on the Oracle EBS database
At least a minimum of 100GB available on TEMP and UNDO tablespace.
This is a minimum recommendation to allow a complex query for extracting data to run against some huge volume data successfully. You can also have a DBA monitor the database during extraction and try to tune your database accordingly.
-
An account on Rapid4Cloud Platform
You would need an access to our cloud platform to upload extracted data, view the report, and upload the report the loading it into ERP cloud. Please provide our sale or consultant with your first name, email address to on-board you or your team to our platform to perform those tasks.
-
Credential to the target Oracle ERP Cloud instance
You will need to create an APP and a BIP connections to allow our extraction and RPA engines on our cloud platform to connect to the target ERP cloud instance. Please see the following documents for how to create user with privileges from the following tutorials.
- How to create APP roles - For an APP connection.
- How to create BI Publisher roles - For a BIP connection.
Install and activate RAPIDSnapshot
-
Download and install RAPIDSnapshot for RAPIDUpgrade from the link you received by email.
-
Download and transfer the product key file into the machine where RAPIDSnapshot for RAPIDUpgrade is installed.
-
Start RAPIDSnapshot for Upgrade, navigate to Register menu, click Upload and select the product key file.
Create a schema and connection
Follow step 02 - CONNECT TO YOUR ORACLE DATABASE instruction available in this tutorial.
Create your first snapshot
Select the connection created from drop-down list and click Connect.

Attention! The next steps must be done in the exact same sequence.
-
Select UPGRADE TYPE check-box.
-
Select a template.
-
Click Snapshot.
-
Name your snapshot according to the template you selected, and click Continue.
The process will start and can take several hours based on the volume of data present in your Oracle EBS instance.
-
Once the snapshot is completed, click OK and make sure to remove all filters from the datatable (grid). Then click Save Grid to Excel.
-
Name the file according to the snapshot you have taken, and take not of the location, you will need to upload this file to Rapid4Cloud platform in a later step.
We recommend you to first take a snapshot with the Configuration template, then proceed to upload the snapshot to the cloud for generating a report. And you can then take another snapshot with other templates such as Master Data, Open Balance - Transaction with the same steps, while you are waiting for the Configuration report
Export the snapshot
Once the snapshot is completed, click Close. You will now be back to the first screen of the application. Select the snapshot you just create, and click Export Snapshot.
The export will start and can take few minutes:

Once export complete, the popup below will appear.
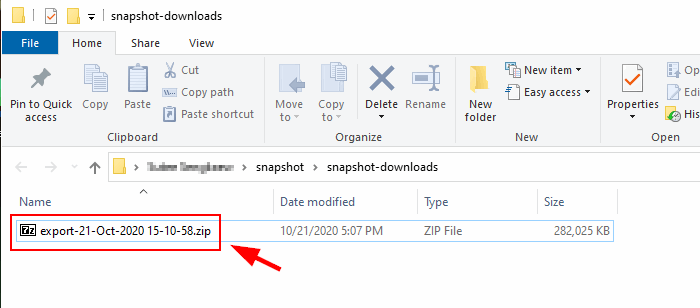
Click OK, the export screen will show you the location of where the export file is saved.
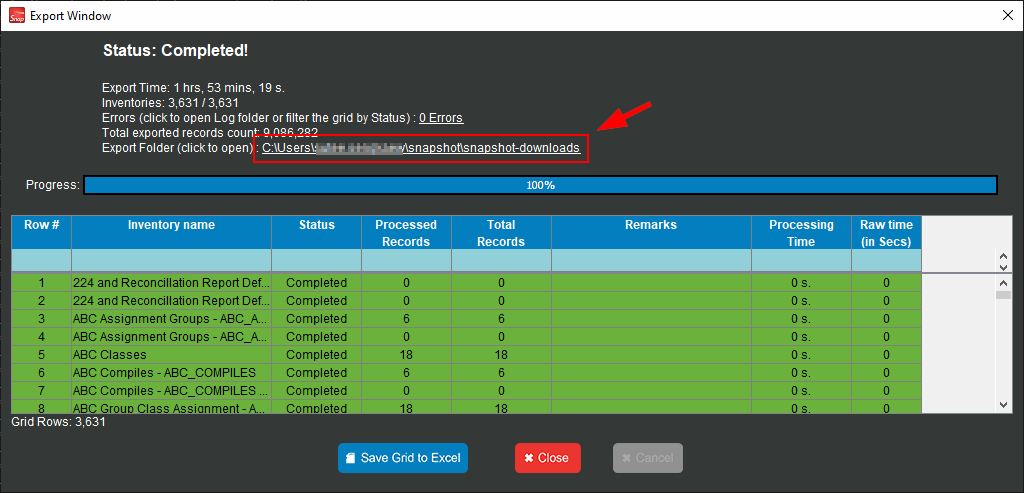
Open the folder, you will see the snapshot export ZIP file.
Upload a snapshot and a grid file (Step 1)
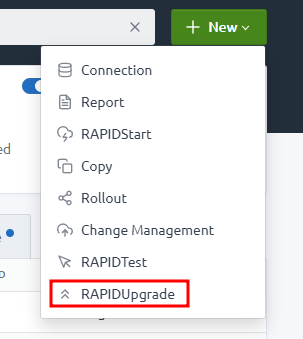
Now that you have exported the grid and the snapshot, connect to your Rapid4Cloud Platform account and select RAPIDUpgrade from the menu.
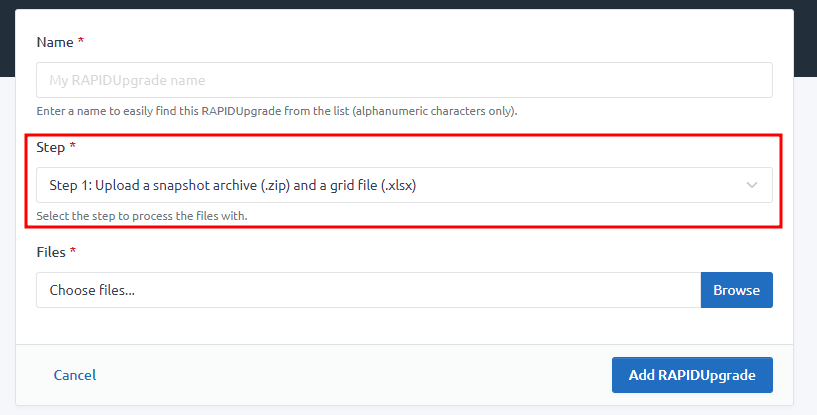
Enter a name for yur RAPIDUpgrade, under the Step field, select the option Step 1: Upload snapshot archive (.zip) and a grid file (.xlsx), select the snapshot and the grid file and click Add RAPIDUpgrade.
Once both the Snapshot and Grid files have been uploaded, the system will trigger the generation of the BR100 and it will be sent to your email via a secure link to download.
Due to security policies, you will not be able to retrieve the files uploaded. Make sure you keep a copy in case you want to cancel or run another RAPIDUpgrade with those data.
Upload a BR100 (Step 2)
Review the BR100 from the step 1, edit any changes you want and upload the new file(s) via the same screen as explained in previous section, but this time select the option Step 2: Upload BR100 for automatic loading).

In order for the system to automatically load the data into your Oracle Cloud instance, you need to provide the BIP and APP Connections. Check our support section on the platform to know how to create a connection.
If you are not familiar with BR100 changes or automatic loading in Oracle Cloud, feel free to contact our support to schedule a meeting to help you with those steps.
Cancel a RAPIDUpgrade
From the list, click on the Cancel icon of the RAPIDUpgrade to cancel.
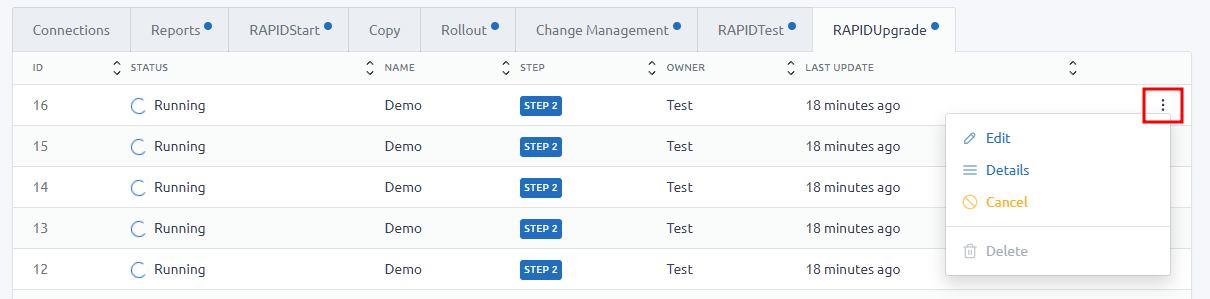
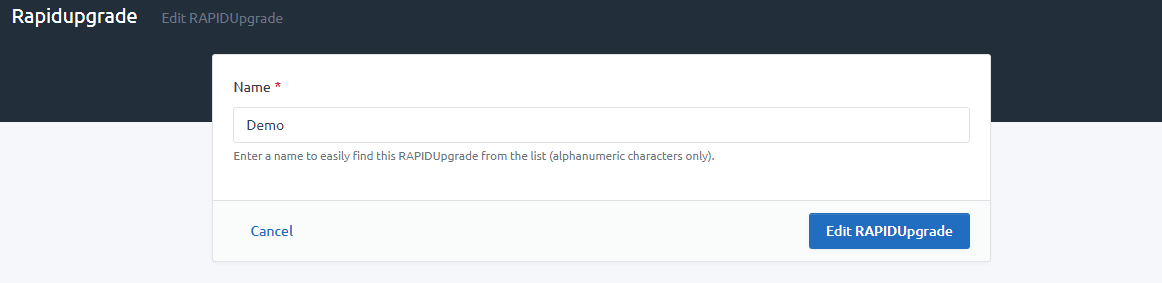
Edit a RAPIDUpgrade
From the list, click on the Edit icon of the RAPIDUpgrade to edit.
Delete a RAPIDUpgrade
From the list, click on the Delete icon of the RAPIDUpgrade to delete.
You can only delete a RAPIDUpgrade if it is COMPLETED, COMPLETED WITH WARNING, FAILED, CANCELLED or ERROR.
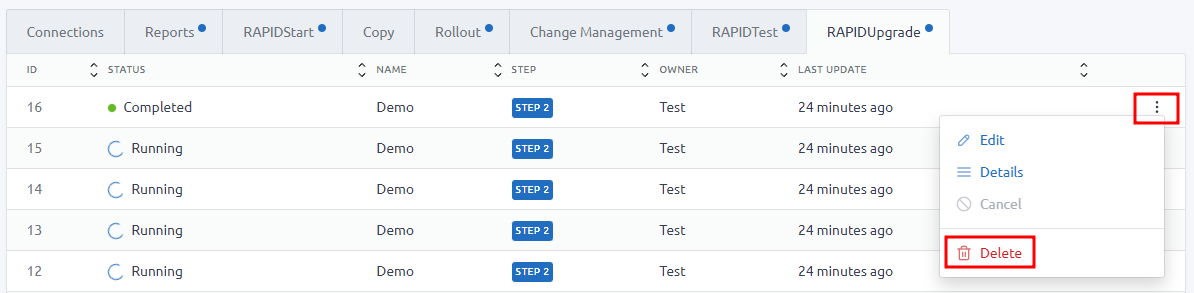
IMPORTANT All data of the copy will be permanently erased.
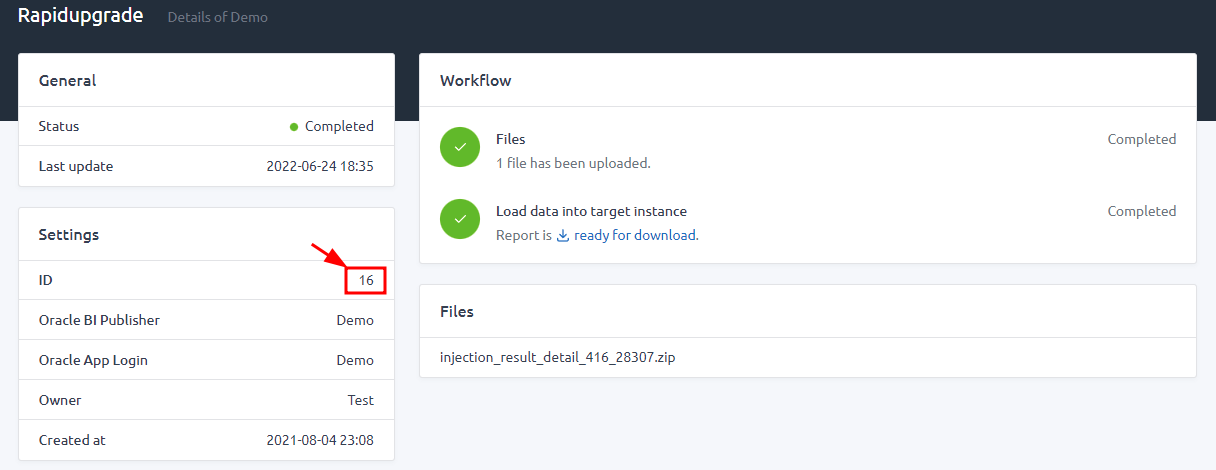
Troubleshooting
For any support concerning this app, please contact our support and provide us with the ID of the RAPIDUpgrade from the Details page.